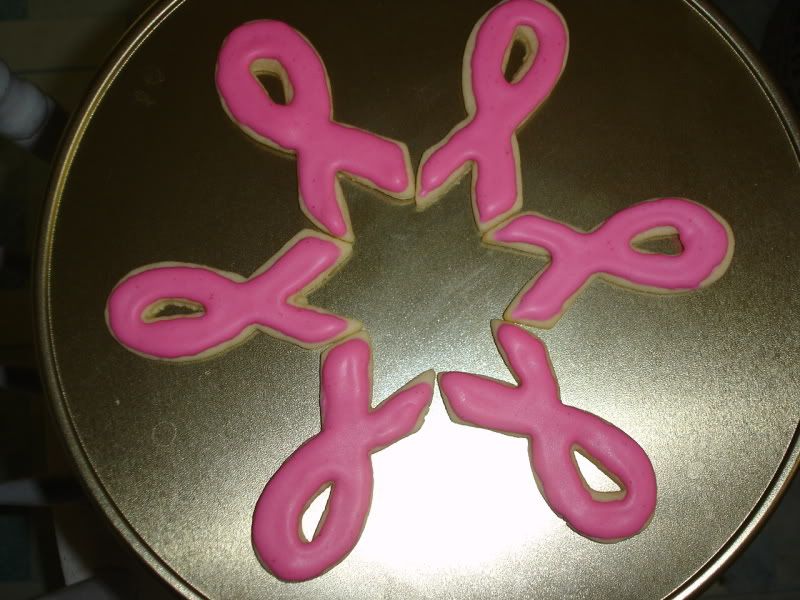
One thing I've probably never said here is how lucky I am to not only have a job in this economy, but to love my job and work for a place whose mission matches up so well with my own values. Working for a college certainly has its ups and downs, but the sense of community at my alma mater and employer is exemplary. There are a great number of big and little things that happen across campus that give me warm, fuzzy feelings routinely, and this month's Cookies for the Cure event is no exception. October is breast cancer awareness month, and in addition to a great number of awareness activities, our Wellness Council decided to ask faculty and staff to donate cookies, wrapped in baggies tied with pink ribbon. Every Wednesday, they then sell these cookies during the lunch hour, and donate all the proceeds. It's a bake sale to save boobs! I love it!
I thought this was a prime opportunity to try a different cookie recipe. I say "opportunity" because no one in particular would be eating these cookies. I've been wanting to try my hand at decorating with royal icing, but if I brought these decorated sugar cookies anywhere, a number of people would be pretty miffed since I'm always told my frosting (buttercream) is the best part, and that the cookies are merely a vehicle for the frosting. I figured charity was as good a reason as any to try out a new recipe, though, so I hit up Martha. I used her basic sugar cookie recipe and royal icing recipes. Of course, with minor alterations: I halved both recipes, and flavored the icing.
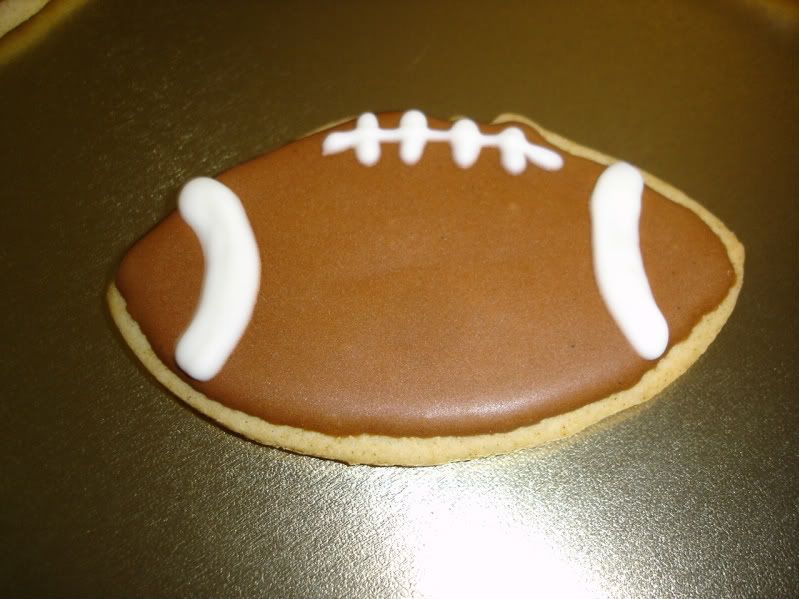 Frankly, I thought the icing was terrible at first. I tried using vanilla extract, and didn't think that improved the taste, so I then added almond extract until it was palatable. I then put a dab on a broken cookie, and ate them together. Better, for sure, but I wasn't sold. I decorated two cookies, and let them dry. I then force-fed them to Carolyn, my official taste-tester. And, she liked them. So I tried another. And, after the icing hardens, it actually does taste better. I still wasn't 100% sold, so I took some to a family game night, and observed reactions. When one game night attendee broke one in half in an effort to "be good," and immediately went back for the other half (which someone else had already eaten!), I figured I had done ok. Although the designs I did were very simple for my first shot, I was pleased with the effect of royal icing, was eventually happy with the taste, and will definitely use it again.
A the very least, the people selling them at work liked them. Maybe it'll drum up some holiday business for me?