By now, you've undoubtedly noticed my affinity not only for ice cream, but my enormous crush on
David Lebovitz. I often tell people that I could be a vegetarian, except that I love bacon too much. (In truth, I'm not anything close to a vegetarian, except that I can go days without eating meat and not really notice.) Bacon, however, is a serious food-love, second only to ice cream. I'm sure you can see where this is going. Bacon in desserts is very trendy right now: bacon cupcakes, bacon donuts, bacon chocolate. And David has a recipe for
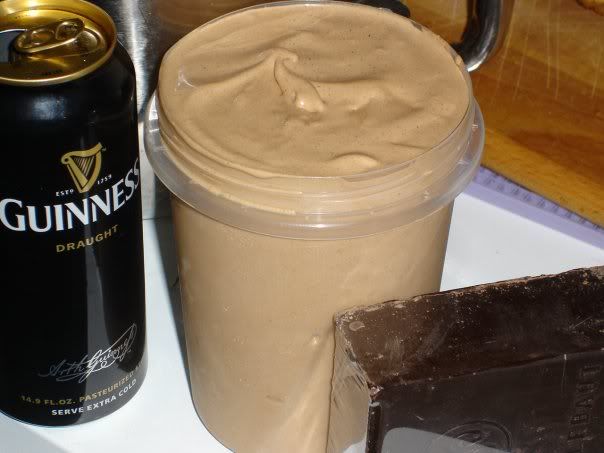
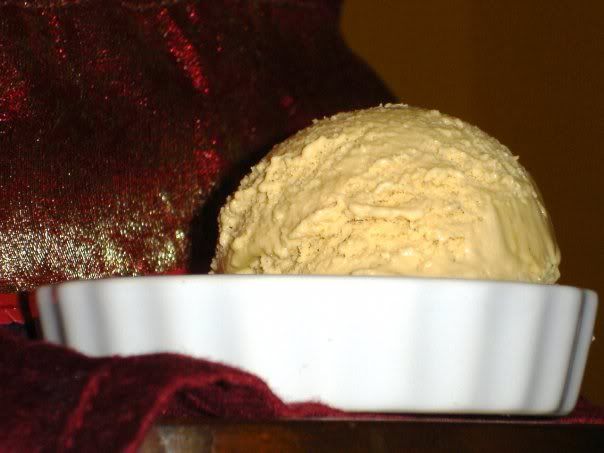
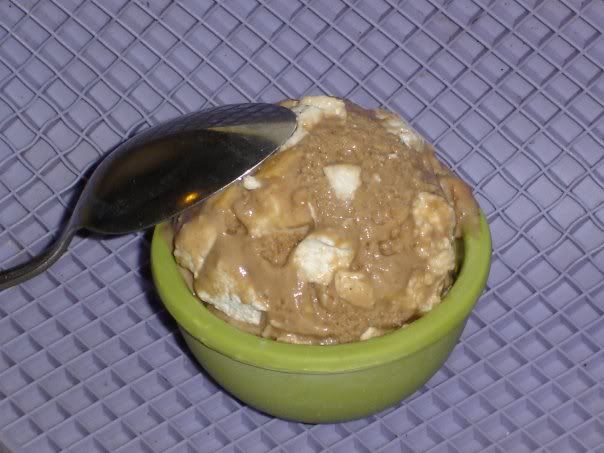
candied bacon ice cream. I've been wanting to try it for months, but last night, I finally did it.
Now, because I can't leave any recipe well enough alone, I made a number of changes. You should check out David's original recipe before making any decisions.
For the candied bacon: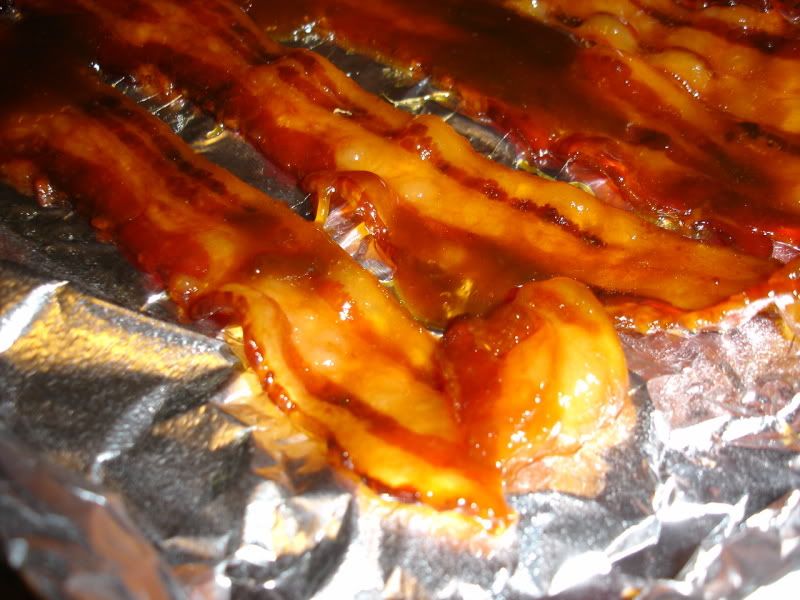
5 strips bacon
about 2 tablespoons light brown sugar
maple syrup (my addition)
Now, I halved the recipe for the ice cream. Except I didn't halve the bacon. I figured I'd want to nibble on the extra. I was actually concerned that if I didn't make extra, I'd eat it all and leave none for the ice cream. It was a good decision, as you'll see at the end of the post.
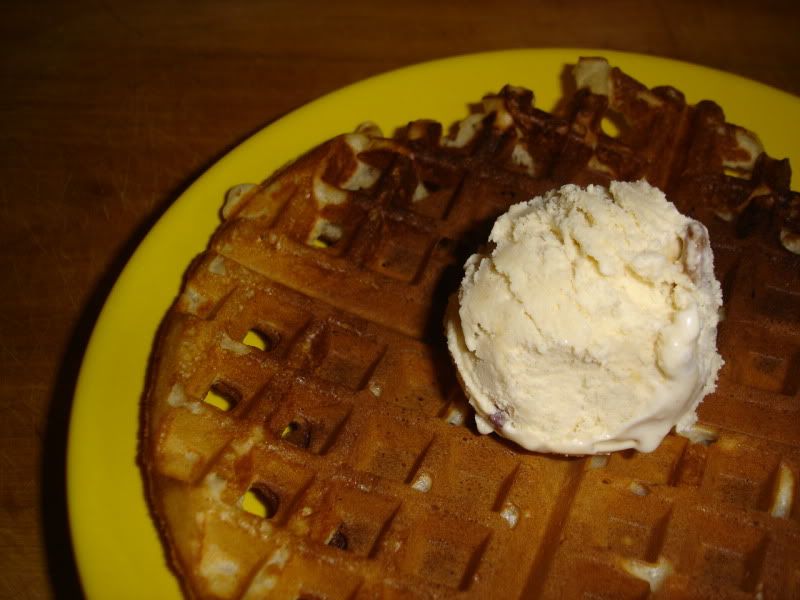
My ice cream, perhaps due to the changes I made, tastes like a great breakfast of french toast and bacon. This is probably due more to the fact that the french toast I make is very much custard based, and I use vanilla, Navan, maple and cinnamon when I make it. I don't know that everyone would feel this way--it's more that it tastes like
my french toast than french toast in general, I think.
 For the ice cream custard:
1 tablespoon butter plus salt if not salted butter
1/3 cup (packed) brown sugar
squeeze of maple syrup (my addition)
1 cup milk
3/4 cup cream
2 large egg yolks
1 teaspoon Navan (my addition, David recommends rum or whiskey)
a couple drops of vanilla bean paste
a tiny pinch of cinnamon
To candy the bacon, turn the oven to 375 and lay the strips of bacon in a baking dish, and top with brown sugar. Drizzle with maple syrup to taste. Bake for 12-16 minutes, occasionally flipping the bacon strips over and dragging them through the syrupy liquid. Continue to bake until dark and done-looking. Remove from oven, and lay on a sheet of aluminum foil sprayed with non-stick spray. (At this point, I stuck the strips in the freezer to cool faster). Once cool, chop into small pieces. You want them fairly small, or else they really get stuck in the teeth.
To make the ice cream custard, melt the butter in a heavy, medium-size saucepan. Stir in the brown sugar, maple syrup to taste, and the milk. Stir until brown sugar is dissolved, and mixture is not quite boiling. Pour the cream into a bowl set in an ice bath and set a mesh strainer over the top.
In a separate bowl, stir together the egg yolks, then gradually temper them with the brown sugar mixture, whisking the yolks constantly as you pour. Pour the mixture back into the saucepan. Cook over low to moderate heat, constantly stirring and scraping the bottom with a heatproof spatula, until the custard thickens enough to coat the spatula.
Strain the custard into the half-and-half, stirring over the ice bath, until cool. Add liquor, vanilla and cinnamon, if using.
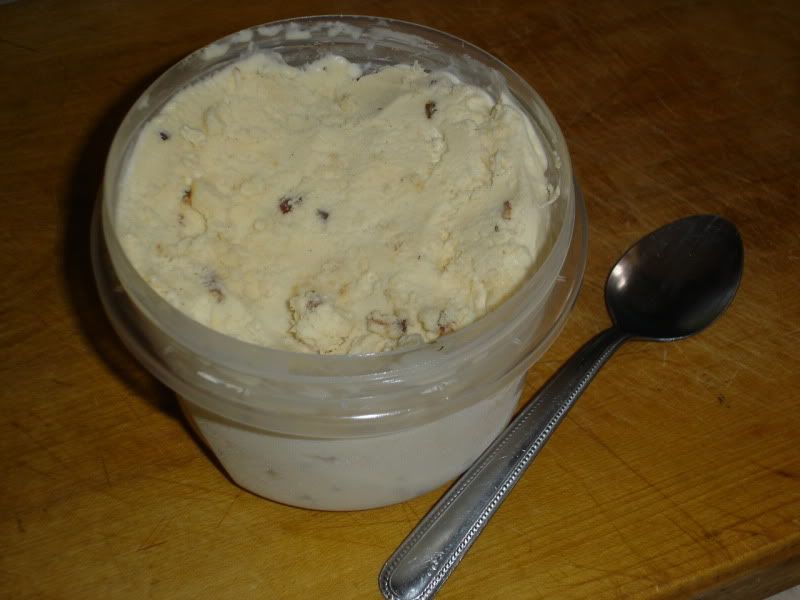
Refrigerate the mixture. Once thoroughly chilled, freeze in your ice cream maker according to the manufacturer's instructions. Add the bacon bits during the last moment of churning, or stir them in when you remove the ice cream from the machine.
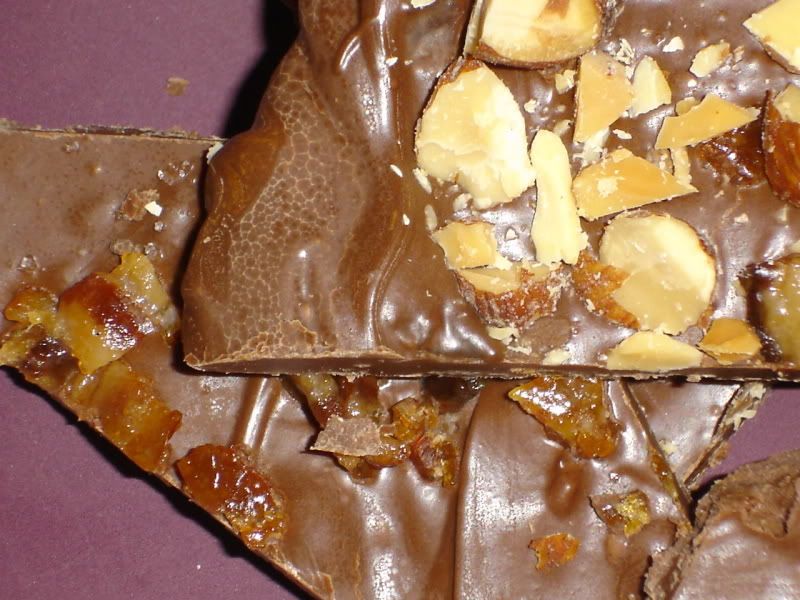
I did have plenty of left over candied bacon, and decided to make some chocolates with it. By this time, it was getting late, so I was rather lazy. I didn't temper the chocolate, so you'll notice it's not shiny. I also didn't use any molds. I simply melted a combination of semisweet and milk chocolates in a double boiled, and stirred in about 1 1/2 strips of diced candied bacon. I then spread the bacon-chocolate mixture on waxed paper in two distinct portions. I sprinkled the first with the remaining bacon and a bit of fleur de sel. I topped the other portion with finely chopped smoked almonds. Once cooled, I broke it into pieces. I actually prefer the one topped with smoked almonds--the smokiness of the almonds brings out the smokiness of the bacon in a fabulous way.
I have to admit, I will probably make more candied bacon. It's delicious, and I'm already thinking of other ways to use it...
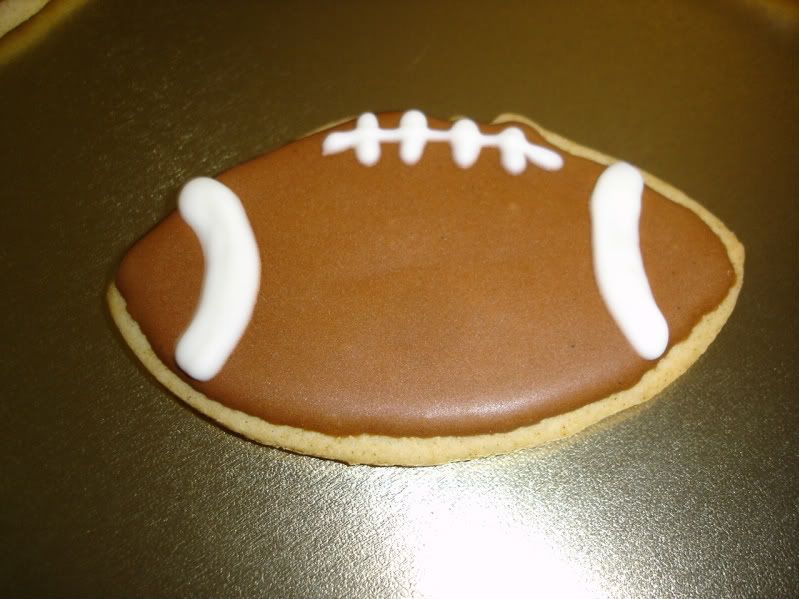
 I've been a busy girl. A friend of mine with whom I often travel for work called me a couple weeks ago to see if I'd be interested in a baking job. For 15 dozen cookies. Sure, I said. Great. Absolutely.
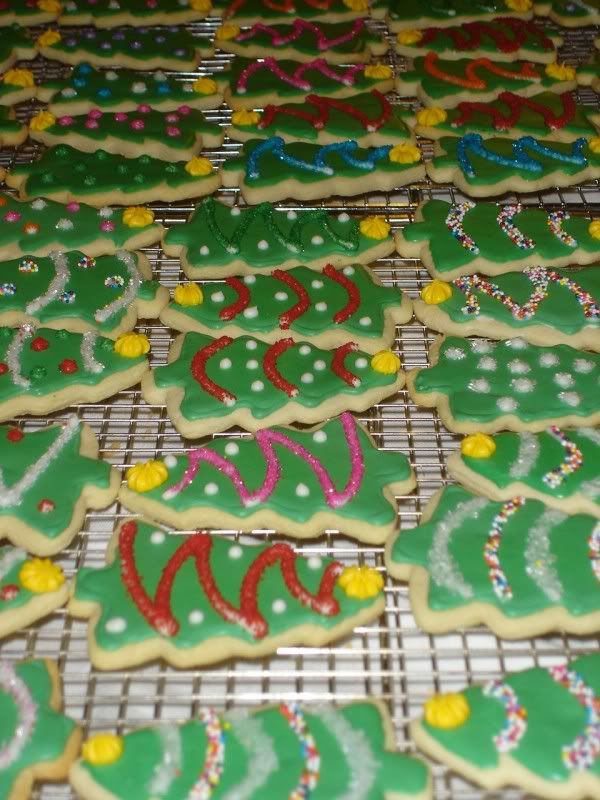
 those breast cancer cookies a couple months ago. I thought it would be quick and easy--outline, flood, decorate, no problem. Ha. I am definitely a buttercream girl through and through. Royal icing in large quantities is a messy slow process for me! I learned a lot, and have been operating on less than five hours of sleep every night this week. Tomorrow, I might just sleep until noon. There was one point this week where I'm pretty sure every flat surface of my dining room was covered with a layer of green trees--like my very own confectionery forest, that smelled almost nauseatingly sweet when one walked in the room.
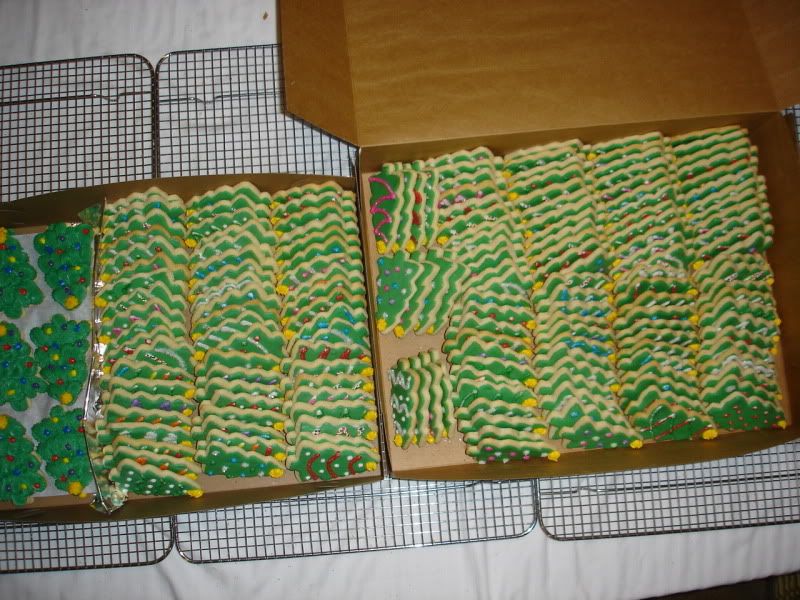


